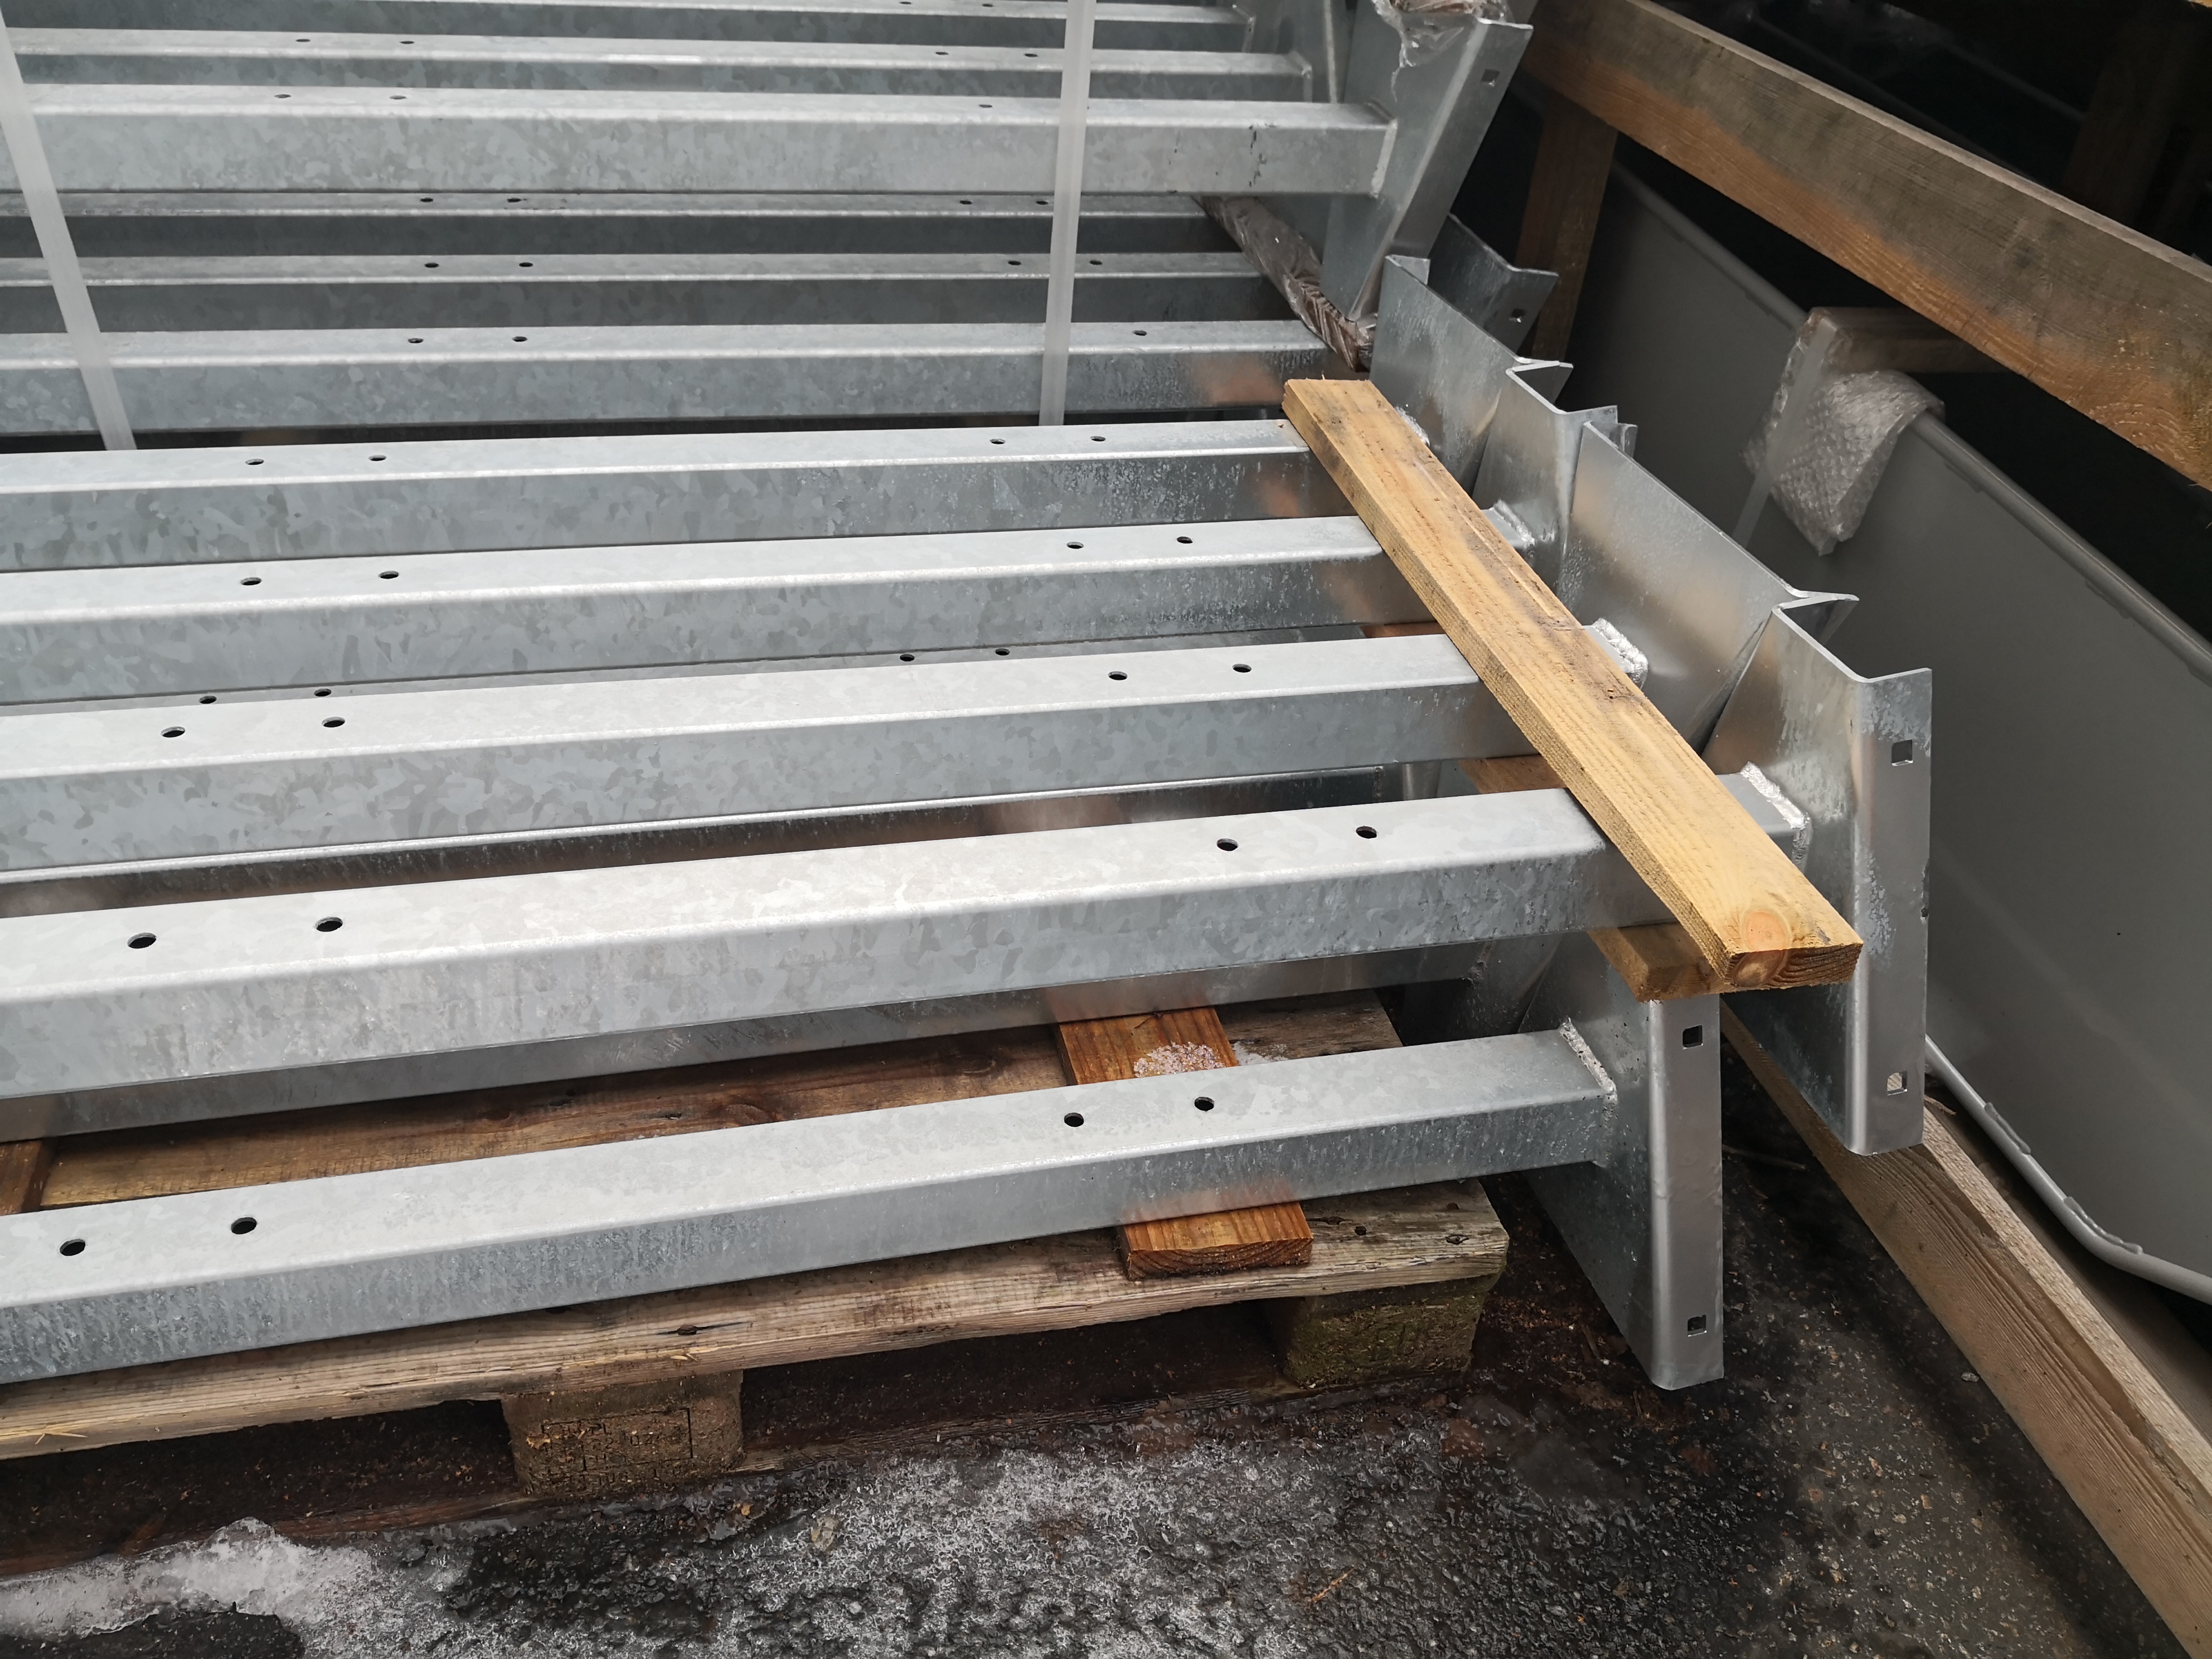
Metal processing involves various techniques to shape, cut, join, and finish metal materials for use in different applications. Here are some common metal processing options that we do:
Cutting:
Shearing: Shearing is a process that involves cutting sheet metal along a straight line using shears or specialized machines. It's suitable for producing straight cuts in thin metal sheets.
Laser Cutting: Laser cutting utilizes a laser beam to precisely cut through metal sheets. It allows for intricate designs and is commonly used in industrial and custom fabrication.
Plasma Cutting: Plasma cutting uses ionized gas to cut through electrically conductive materials, including various metals. It is often used for thick metal sheets and is faster than some other cutting methods.
Forming:
Press Brake Forming: Press brake machines bend and shape metal sheets. This process is commonly used to create bends, folds, and various geometric shapes in sheet metal.
Roll Forming: Roll forming involves passing a metal sheet through a series of rollers to gradually shape it into a desired profile or cross-section. It is commonly used for producing long pieces with consistent shapes.
Joining:
Welding: Welding is a process that fuses metal pieces together using heat. Different welding techniques include MIG (Metal Inert Gas), TIG (Tungsten Inert Gas), and arc welding. Welding is crucial for creating strong and durable connections in metal structures.
Soldering and Brazing: Soldering and brazing involve joining metals using a lower-melting-point filler material. While soldering is suitable for lower-temperature applications, brazing can provide stronger joints for higher-temperature situations.
Machining:
CNC Machining: Computer Numerical Control (CNC) machining uses computer-controlled tools to remove material from a metal workpiece. This precise method is often used for creating complex shapes and parts.
Turning and Milling: Turning and milling are traditional machining processes. Turning involves rotating a workpiece on a lathe, while milling involves removing material with rotating cutters. Both processes are used for metal shaping.
Finishing:
Surface Finishing: Various techniques can be applied to improve the surface appearance and properties of metal. This includes grinding, polishing, sandblasting, and brushing.
Coating: Metal surfaces can be coated with protective layers to enhance corrosion resistance or improve aesthetics. Common coatings include paint, powder coating, anodizing (for aluminum), and galvanizing (for steel).
Extrusion:
Metal Extrusion: Extrusion is a process where a metal billet is forced through a die to create a specific cross-sectional profile. This is often used for producing long, uniform shapes such as rods, tubes, and channels.
Heat Treatment:
Heat Treating: Heat treatment processes, including annealing, tempering, and quenching, can alter the mechanical properties of metals. These processes are used to achieve desired hardness, strength, and toughness.
Stamping:
Metal Stamping: Metal stamping involves forming metal sheets into specific shapes using a stamping press and dies. It is often used for mass production of metal components.
Each of these metal processing options serves different purposes, and the choice of method depends on the specific requirements of the project, the type of metal being used, and the desired end product. Metal processing is a versatile field with numerous techniques that can be combined to achieve complex and varied results.

Final measuring inspection is a crucial step in ensuring the quality and accuracy of metal parts in manufacturing. This process helps identify any deviations from the specified dimensions or tolerances and ensures that the parts meet the required specifications. Here are common steps involved in the final measuring inspection of metal parts:
Review Specifications:
Before beginning the inspection, thoroughly review the engineering drawings, specifications, and tolerances provided for the metal parts. Ensure that you understand the required dimensions and quality standards.
Calibration Check:
Calibrate all measuring instruments and gauges used in the inspection process to ensure accuracy. Regular calibration is essential to maintain the precision of measurement tools.
Visual Inspection:
Conduct a visual inspection of the metal parts to identify any obvious defects, surface imperfections, or irregularities. This step can help catch issues that may not be apparent through measurement alone.
Dimensional Measurements:
Use precision measuring tools such as micrometers, calipers, height gauges, and depth gauges to measure the critical dimensions of the metal parts. Check both length and width dimensions as well as features such as holes, diameters, and angles.
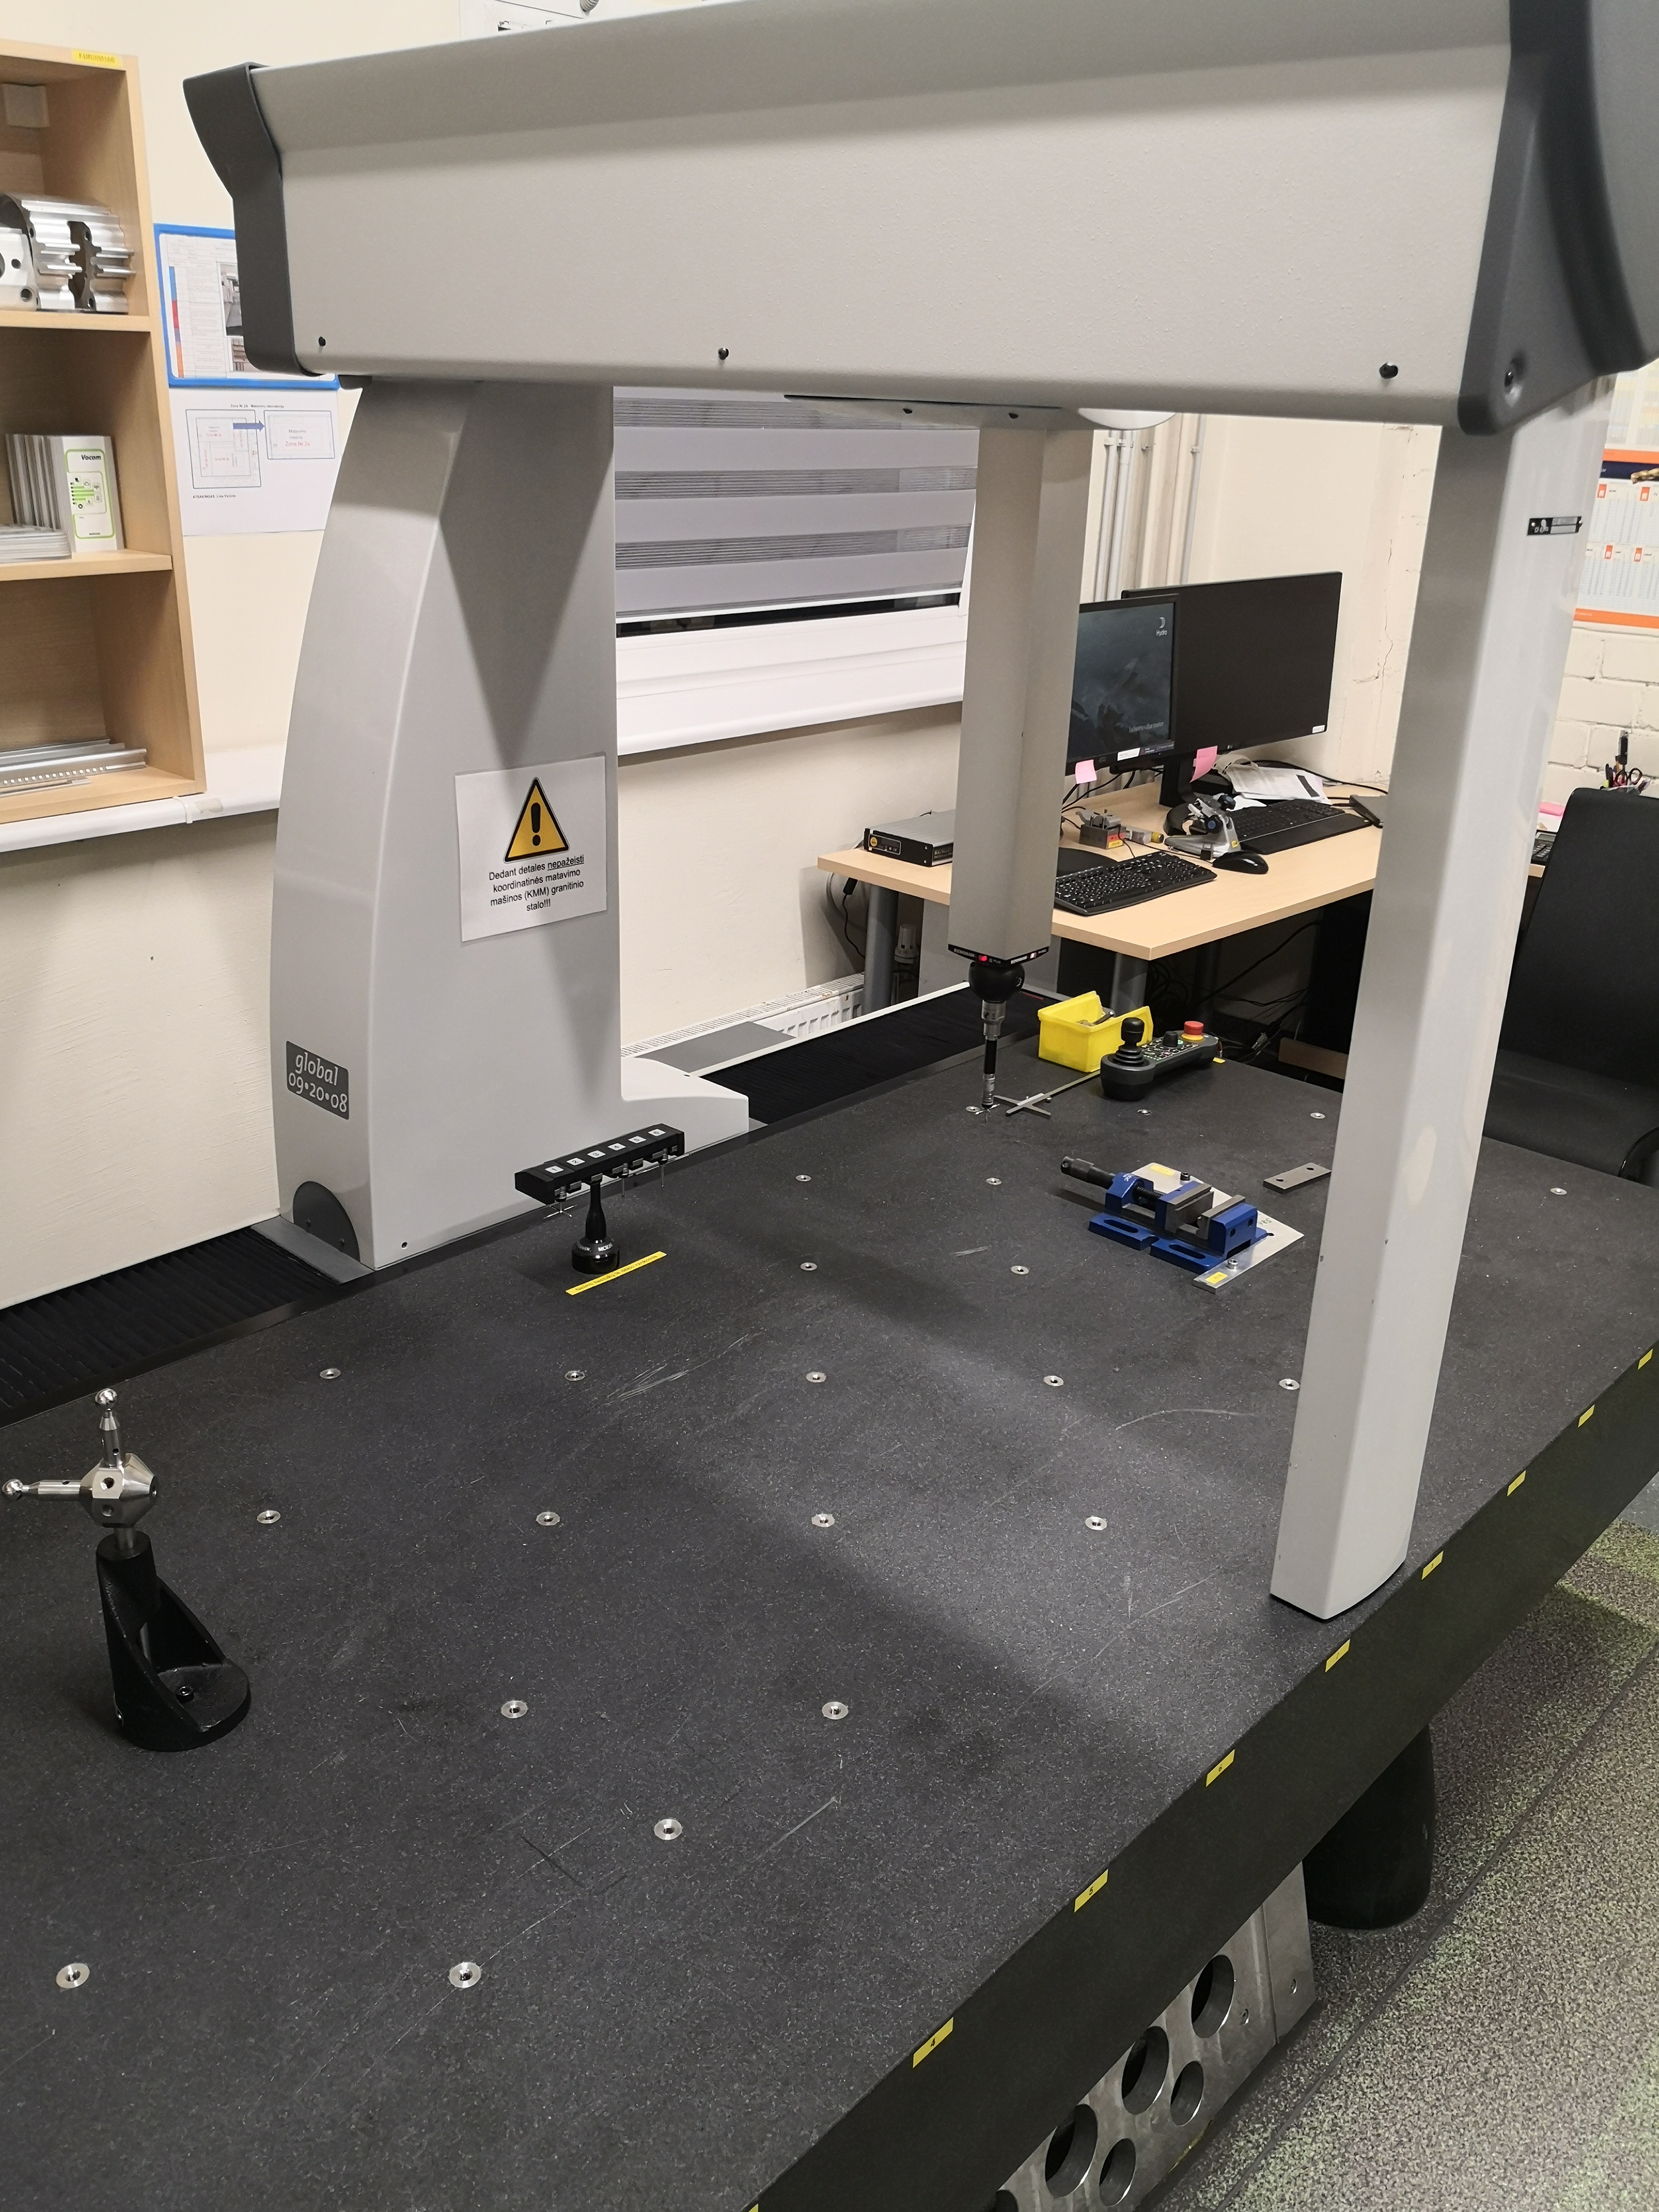
Coordinate Measuring Machine (CMM):
For complex and critical parts, use a Coordinate Measuring Machine (CMM) to perform three-dimensional measurements. CMMs provide accurate and detailed measurements of intricate features, ensuring compliance with design specifications.
Surface Finish Measurement:
Use surface roughness testers to measure the surface finish of the metal parts. Surface finish is crucial for parts that require a specific texture or level of smoothness.
Gauge R&R (Repeatability and Reproducibility):
Conduct Gauge R&R studies to assess the repeatability and reproducibility of the measurement system. This helps ensure that the measurement equipment and operators are consistently providing reliable results.
Functional Testing:
If applicable, perform functional tests to ensure that the metal parts meet performance requirements. This could involve assembling parts or testing them under simulated operating conditions.
Tolerance Verification:
Verify that the measured dimensions fall within the specified tolerances. Pay close attention to critical dimensions and features with tight tolerances.
Statistical Process Control (SPC):
Implement statistical process control methods to monitor and control the manufacturing process. SPC can help identify trends, patterns, or variations that may impact the quality of metal parts.
Documentation and Record Keeping:
Document all measurements, inspections, and test results. Maintain a comprehensive record of the inspection process, including any deviations, corrective actions, or rework.
Feedback Loop:
Establish a feedback loop with the production team to address any issues identified during the final measuring inspection. Continuous improvement efforts can help prevent similar issues in future production runs.
By following these steps, manufacturers can ensure that metal parts meet quality standards, adhere to specifications, and function as intended in the final product. Regular and systematic inspection is essential for maintaining high-quality manufacturing processes and delivering reliable products to customers.


